

 Phone / Whatsapp: +84 947 045 858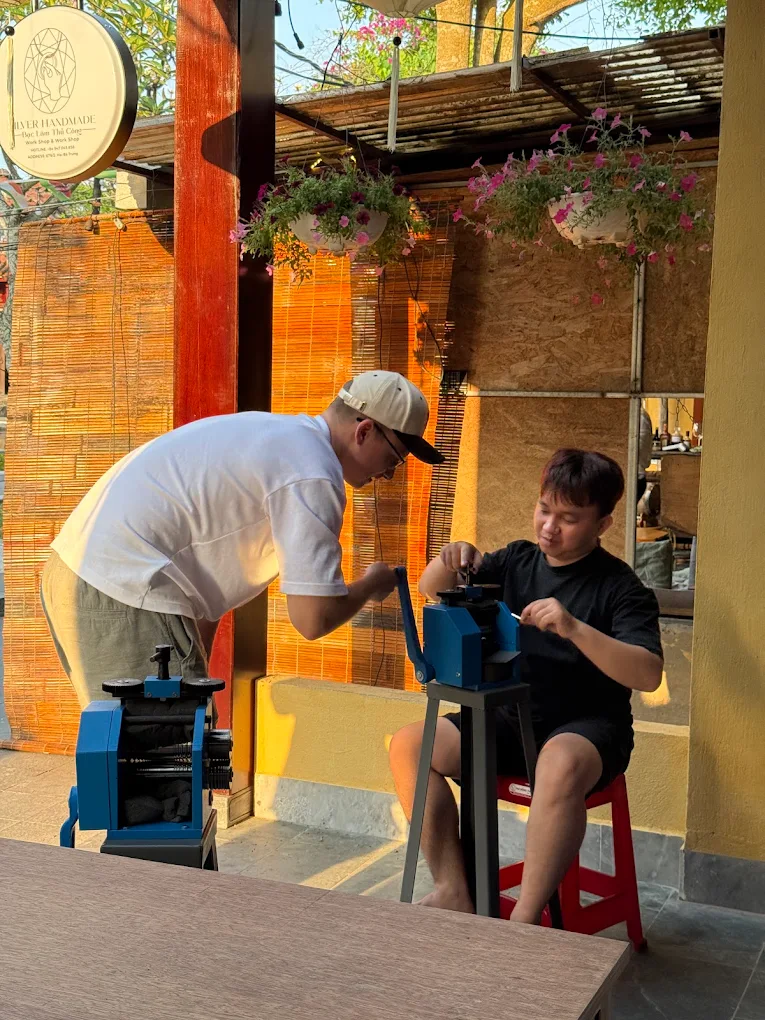
From Raw Metal to Handcrafted Keepsake
There is something deeply satisfying about taking a raw piece of metal and shaping it with your own hands. At Silver Handmade, every ring tells a story—not just in its finished look, but in every hammer stroke, flame, and polish along the way.
Whether you’re curious about traditional metalsmithing or preparing for a hands-on workshop experience, here is your step-by-step guide to how a handmade silver ring comes to life.
Step 1: Measuring & Cutting the Silver
Every great ring begins with the right fit.
- Size the Finger: Using a standard ring sizer, determine the exact inner diameter required.
- Calculate Length: Apply a quick formula to account for metal thickness so the ring fits perfectly after bending.
- Cut the Stock: Using a fine jeweler’s saw or heavy-duty cutters, cut a strip from a solid bar of sterling silver.
Step 2: Annealing (Softening the Metal)
Silver hardens as it is worked, making it stiff and brittle. To make it malleable:
- Apply Heat: Use a blowtorch to heat the silver strip evenly until it glows a soft, cherry-red color.
- Quench: Submerge the hot silver into water. This thermal shock resets the metal’s crystalline structure, leaving it soft and easy to shape.
Step 3: Texturing & Stamping (Adding Personality)
Before shaping the silver into a circle, all surface patterns and custom engravings are applied while the strip is still flat:
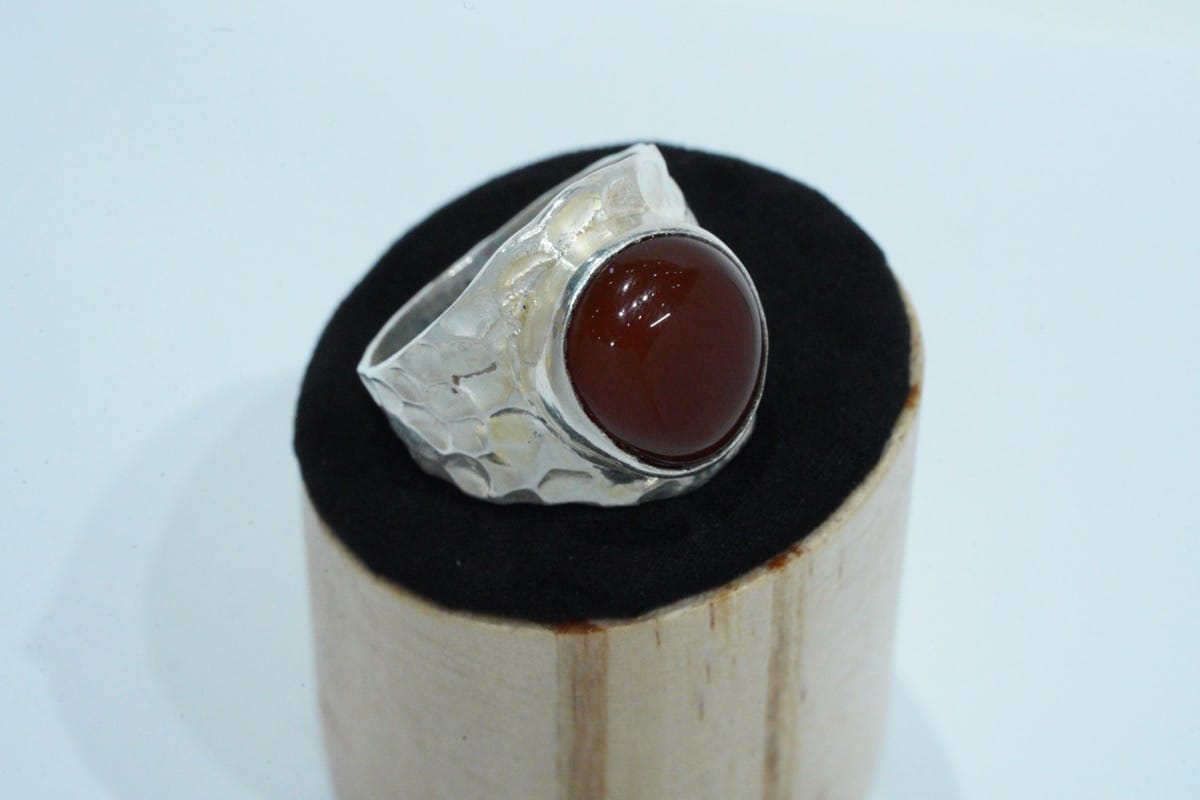
- Hammered Texture: Use a ball-peen or cross-peen hammer to create organic, light-reflecting facets.
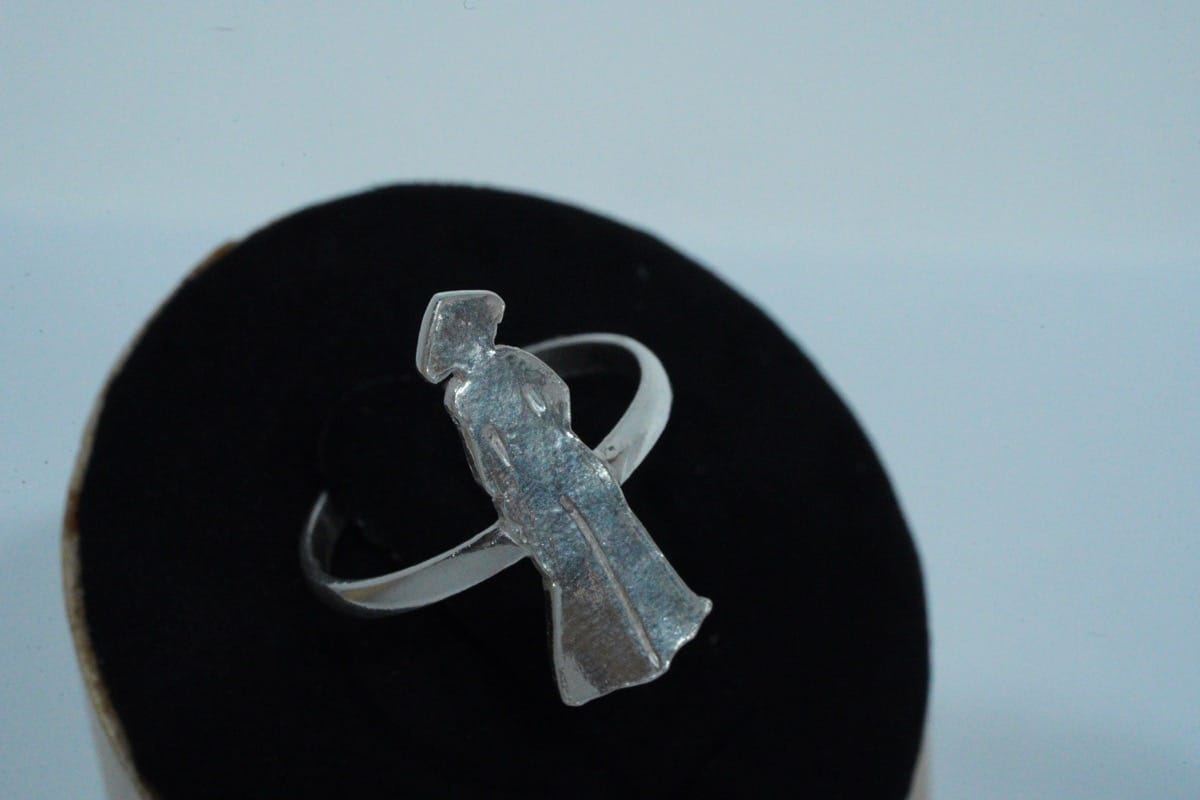
- Custom Stamping: Carefully hammer individual steel stamps into the metal to engrave initials, dates, or minimal symbols.
Step 4: Bending & Joint Alignment
- Form the Curve: Using half-round pliers, gradually bend both ends of the silver strip toward each other.
- Flush Joint: The two ends must meet perfectly seamlessly with zero gap. If light leaks through the seam, the solder won’t hold properly.
Step 5: Soldering (Fusing the Ring)
Soldering is where the loose ends permanently fuse together.
- Apply Flux: Coat the joint with liquid flux to prevent oxidation during heating.
- Add Solder: Place a tiny chip of silver solder right over the seam.
- Fire It Up: Heat the entire ring evenly with the torch. As the metal reaches temperature, the solder melts and flows into the joint via capillary action, binding the ring into a solid loop.
Step 6: Rounding & Sizing on the Mandrel
Now that the loop is sealed, it needs to become a true circle:
- Sliding onto the Mandrel: Place the ring onto a steel ring mandrel.
- Shape with a Mallet: Use a rawhide or wooden mallet (to avoid ruinous denting on your fresh texture) and hammer down around the mandrel until the band becomes perfectly round and reaches your target size.
Step 7: Filing, Sanding & Polishing
The final step turns raw, fire-scaled metal into a smooth, comfortable piece of jewelry:
- File the Edges: Smooth out any sharp edges or leftover solder seam with needle files.
- Graduated Sanding: Work through progressively finer sandpapers (from 400 to 2000 grit) to remove scratches.
- Final Polish: Use a rotary buffing wheel with polishing compound for a brilliant high-shine finish, or a brass brush for a soft matte look.
Craft Your Own Ring at Silver Handmade Hoi An
Reading about it is one thing—feeling the heat of the torch and the weight of the hammer in your own hand is another.
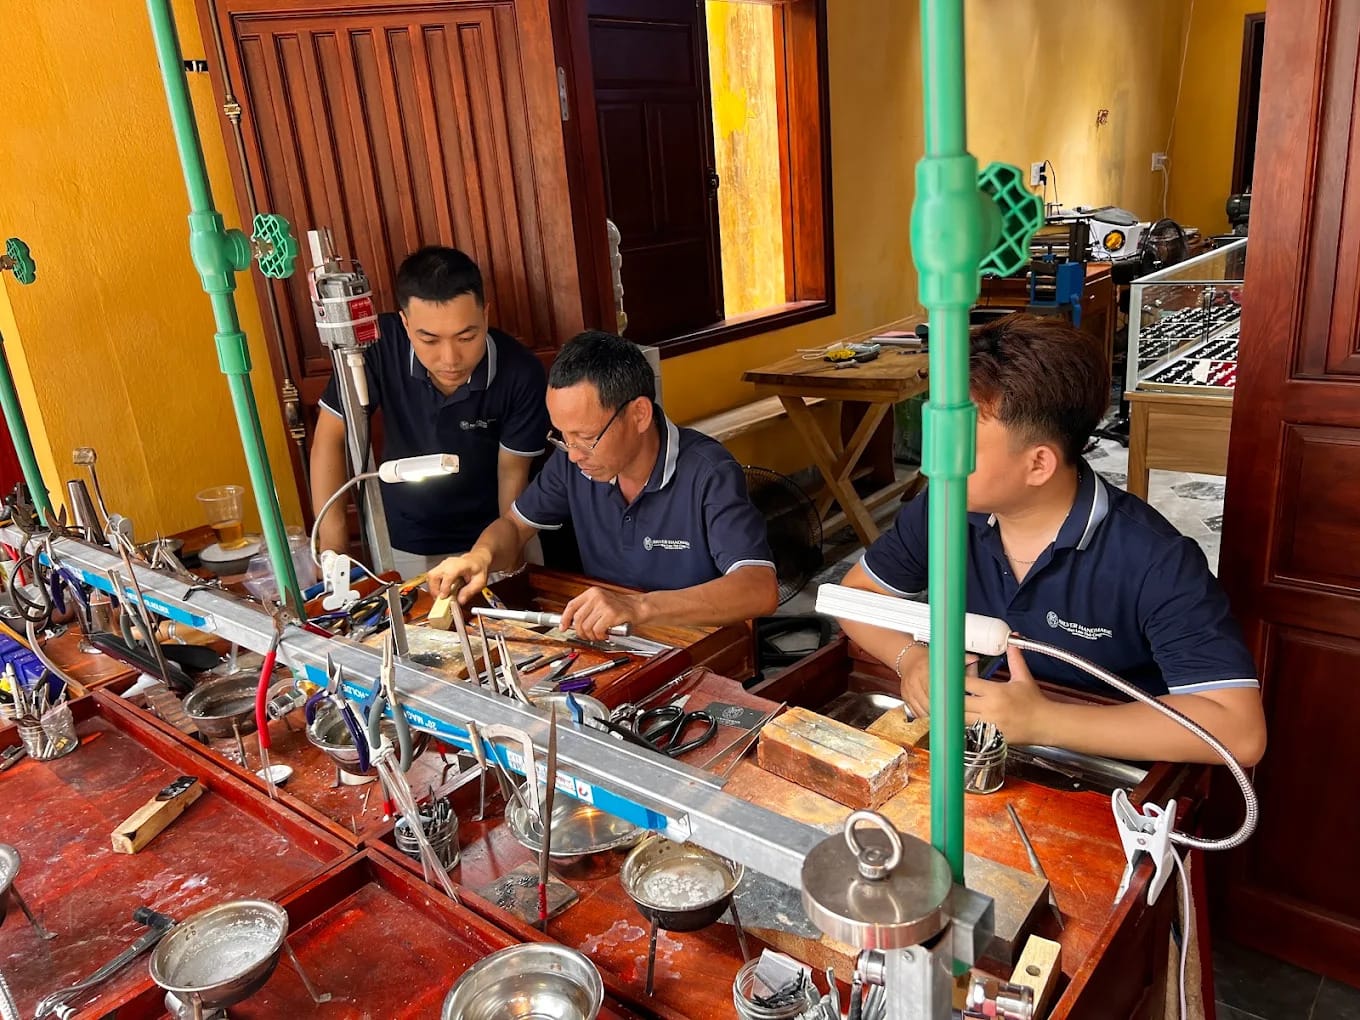
Join us at Silver Handmade in Hoi An, where our master silversmiths will guide you through this exact process step-by-step. Walk away in just a couple of hours with a high-quality sterling silver ring crafted entirely by you.
- Address 1: 679 / 2 Hai Ba Trung, Hoi An, Viet Nam.
- Address 2: 117 Tran Cao Van, Hoi An, Viet Nam.
- Opening Hours: 8:00 AM – 9:00 PM (Daily)
- WhatsApp: +84 947 045 858